First, connect your laptop to the screen. If you haven’t done so yet, follow these instructions.
The owl is found with other equipment in a clear box under the computer at the front of the room.
Make sure there are 2 cables plugged into the bottom of the owl. One is the power adapter. The other is to connect to your laptop. If they are not plugged in, they will be in the box. If the cable going to your laptop is black, replace it with the grey and black cable seen in the picture.
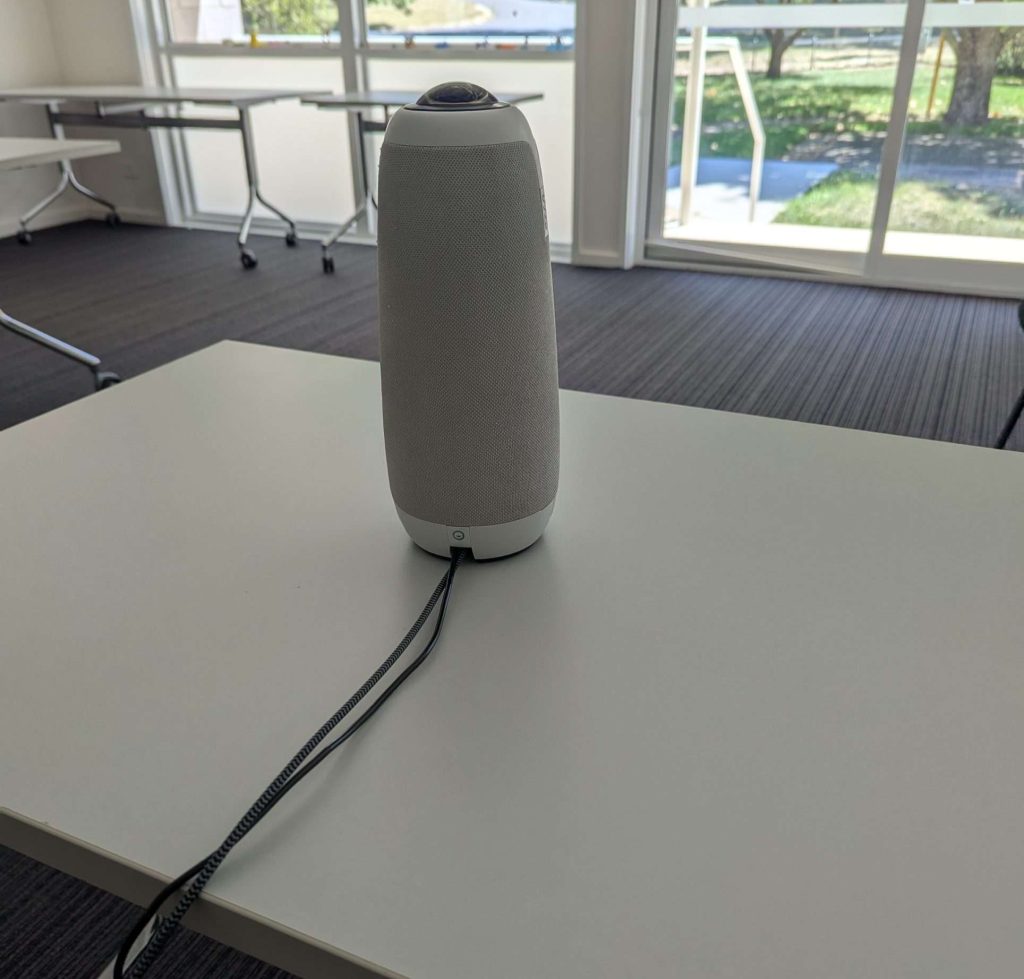
Place the owl on a small table in the middle of the room.
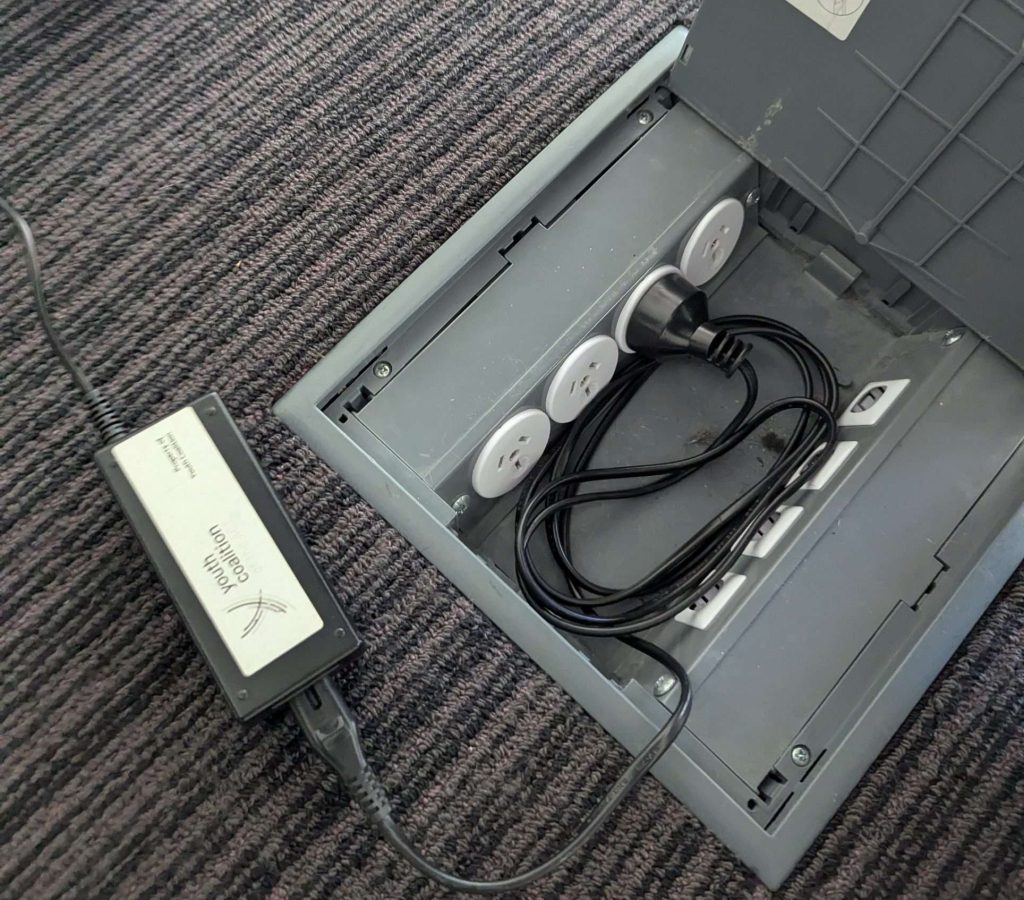
In the middle of the room is a box. Plug the power adapter in that is connected to the owl. You will hear and owl noise if it has powered on.
Connect the USB cable to the adapter or directly to your laptop.

Open your teams meeting on your laptop. Click the down arrow next to camers and ensure the “Meeting Owl Pro Camera” is selected. Do the same for the microphone.
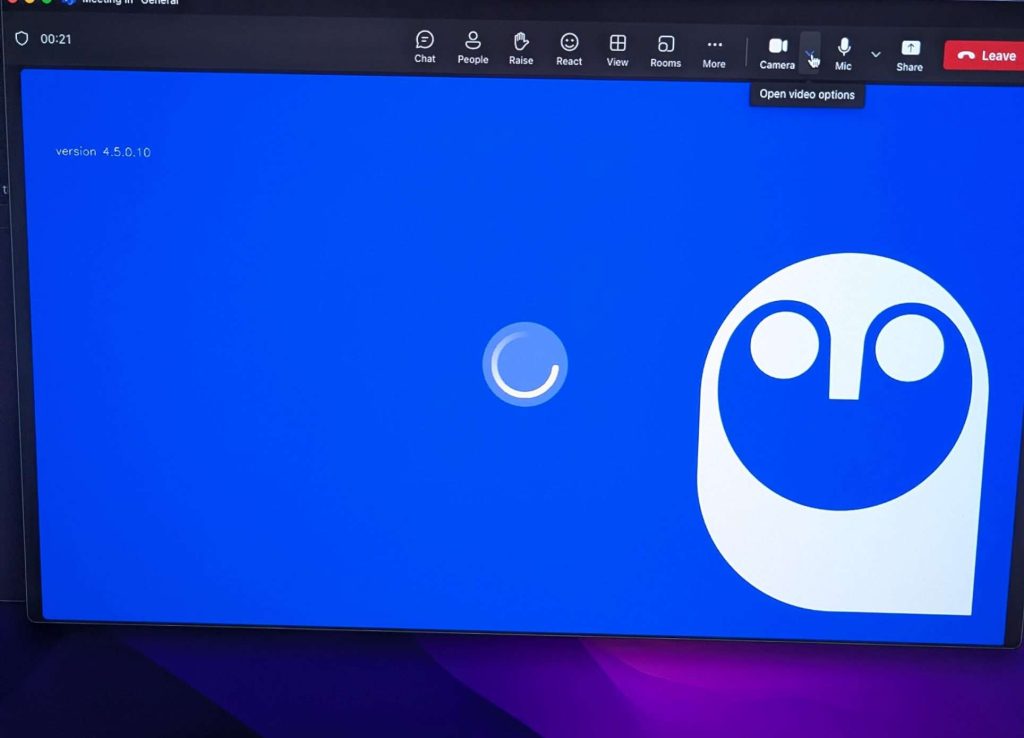
A blue screen will appear when the owl has been selected. If it’s stuck loading, it’s trying to detect where it is in the room. If you move around the room and make some noise it will detect you and the video will come on. Sometimes it takes a bit of time so leave it loading.